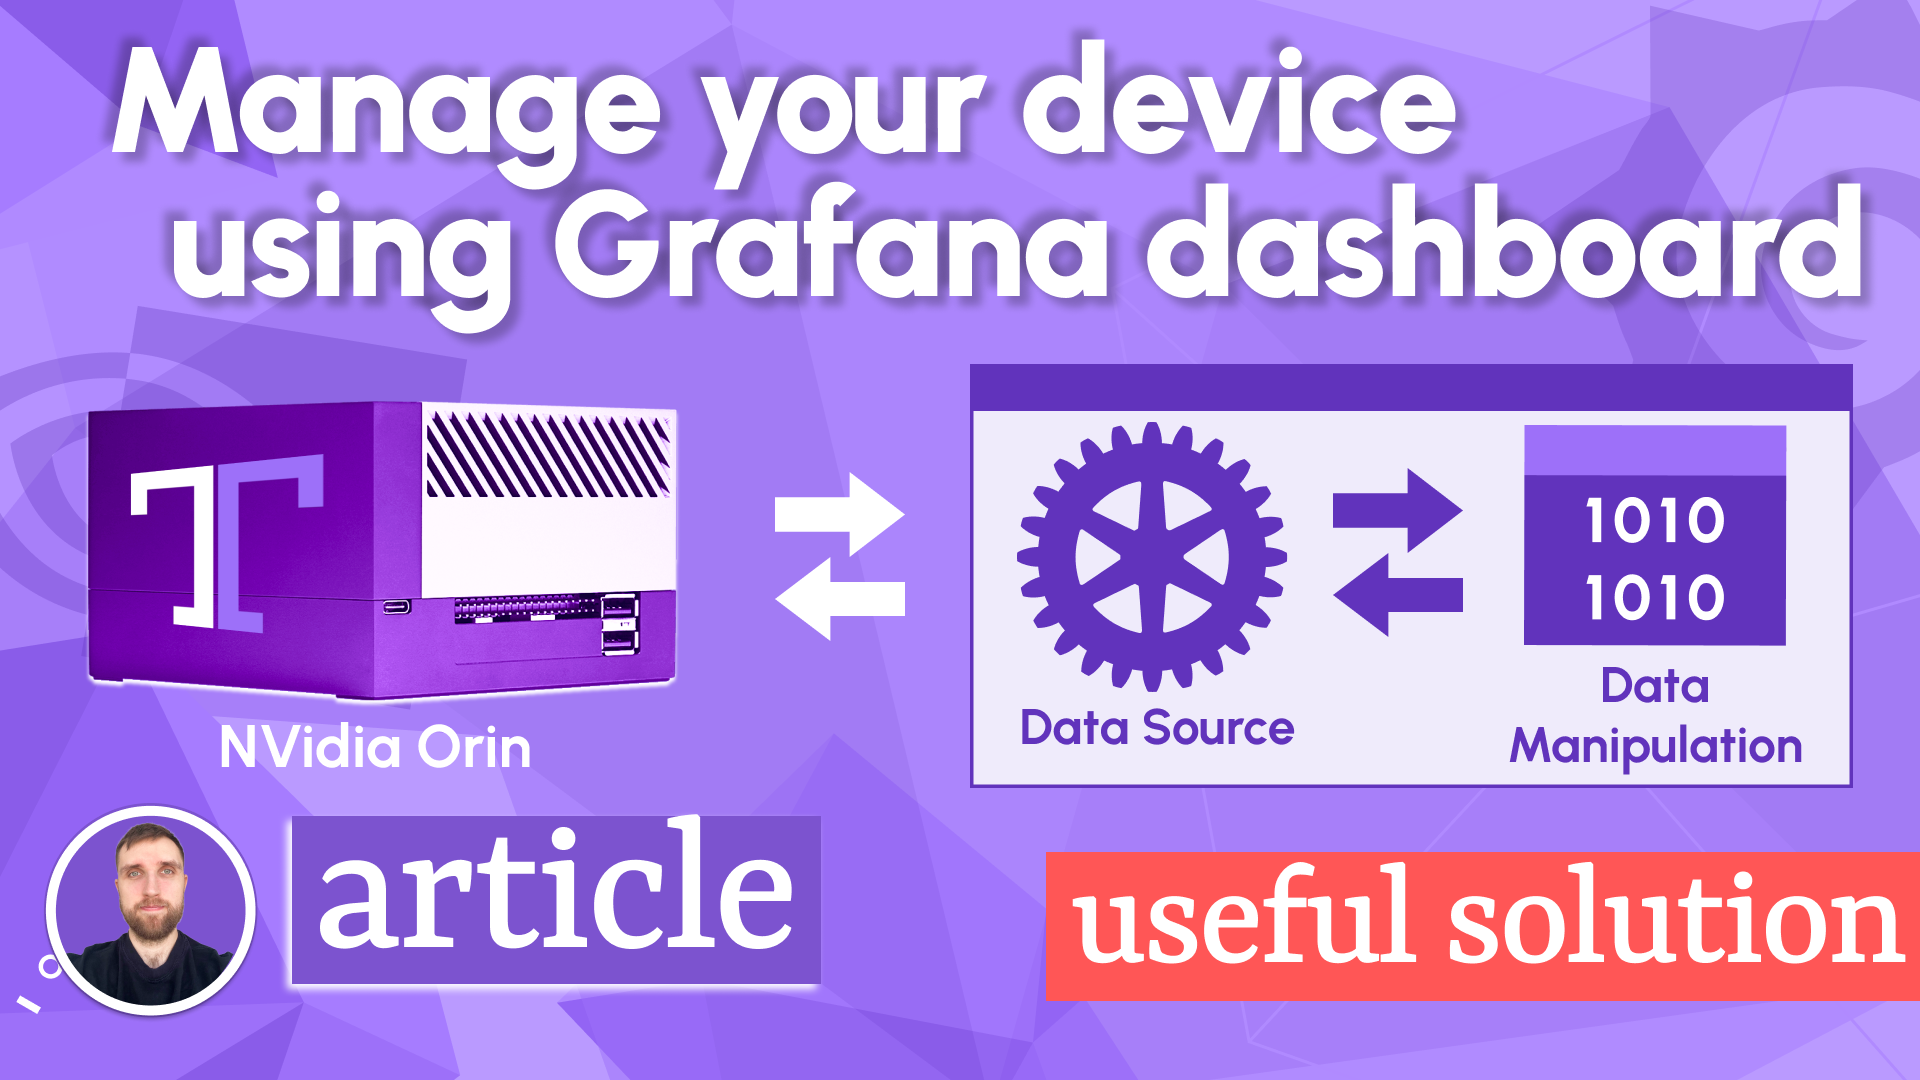
We created the Data Manipulation plugin for Grafana to make sending data back into a connected data source possible. This functionality opens the door to a new universe of use cases with great potential to convert your dashboard into a full-scale web application.
This article describes yet another way of using the Data Manipulation plugin and, therefore, using Grafana beyond observability.
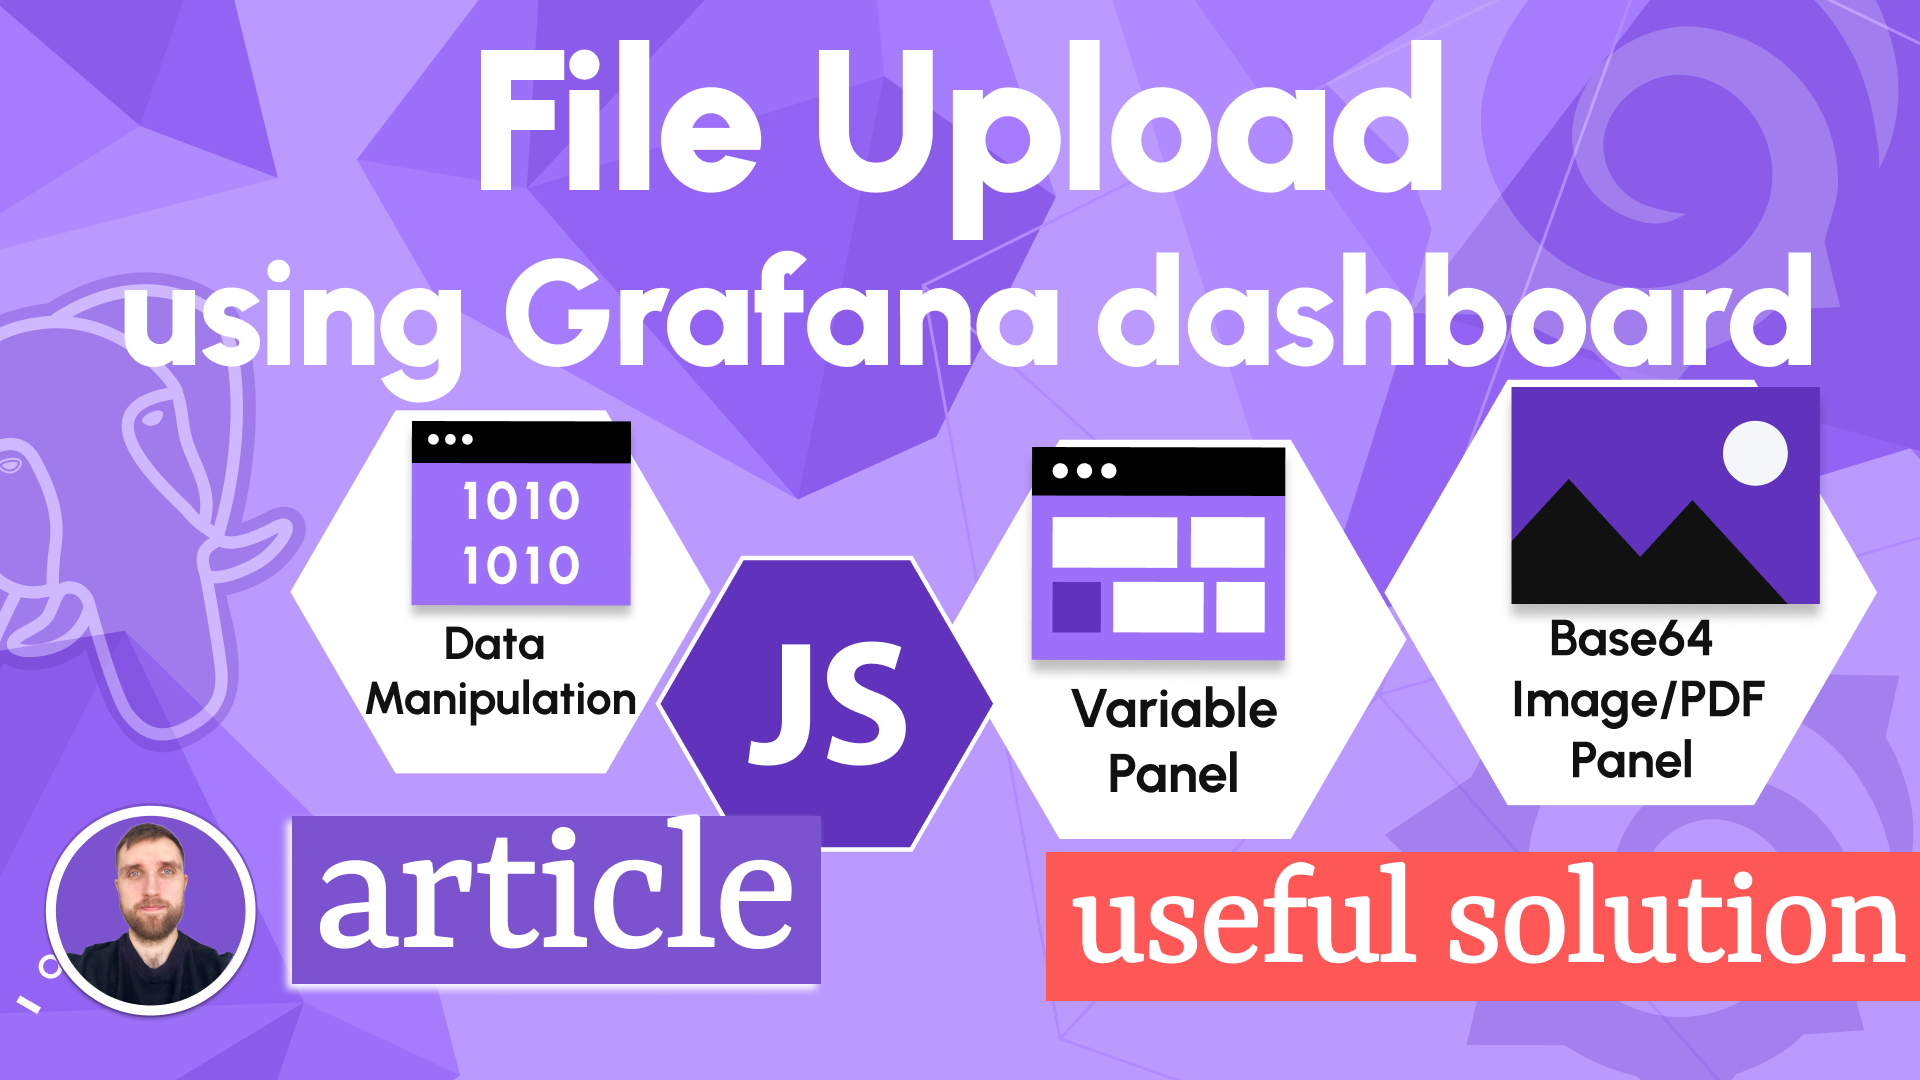
What are the Form Elements
The Form Elements are the interface input/output built-in types that you can use to create your unique Data Manipulation form. As of today, you have 16 types at your disposal. We keep adding new elements with each release.

Form Elements on the Data Manipulation Form
There are two approaches to placing the Form Elements on the Data Manipulation panel.
Static
The Data Manipulation form allows you to set the Form elements manually using the plugin options. Below is an example of what parameters you can control manually for the Select with custom options type.

Dynamic
The Data Manipulation form supports a Form Element placement via code or, in other words, programmatically. This approach is for more advanced users and can be used in the following cases:
- The Data Manipulation form needs to contain a large number of Form Elements, making manual configuration tedious.
- The Form Elements vary for different users (permission control) and/or variables.
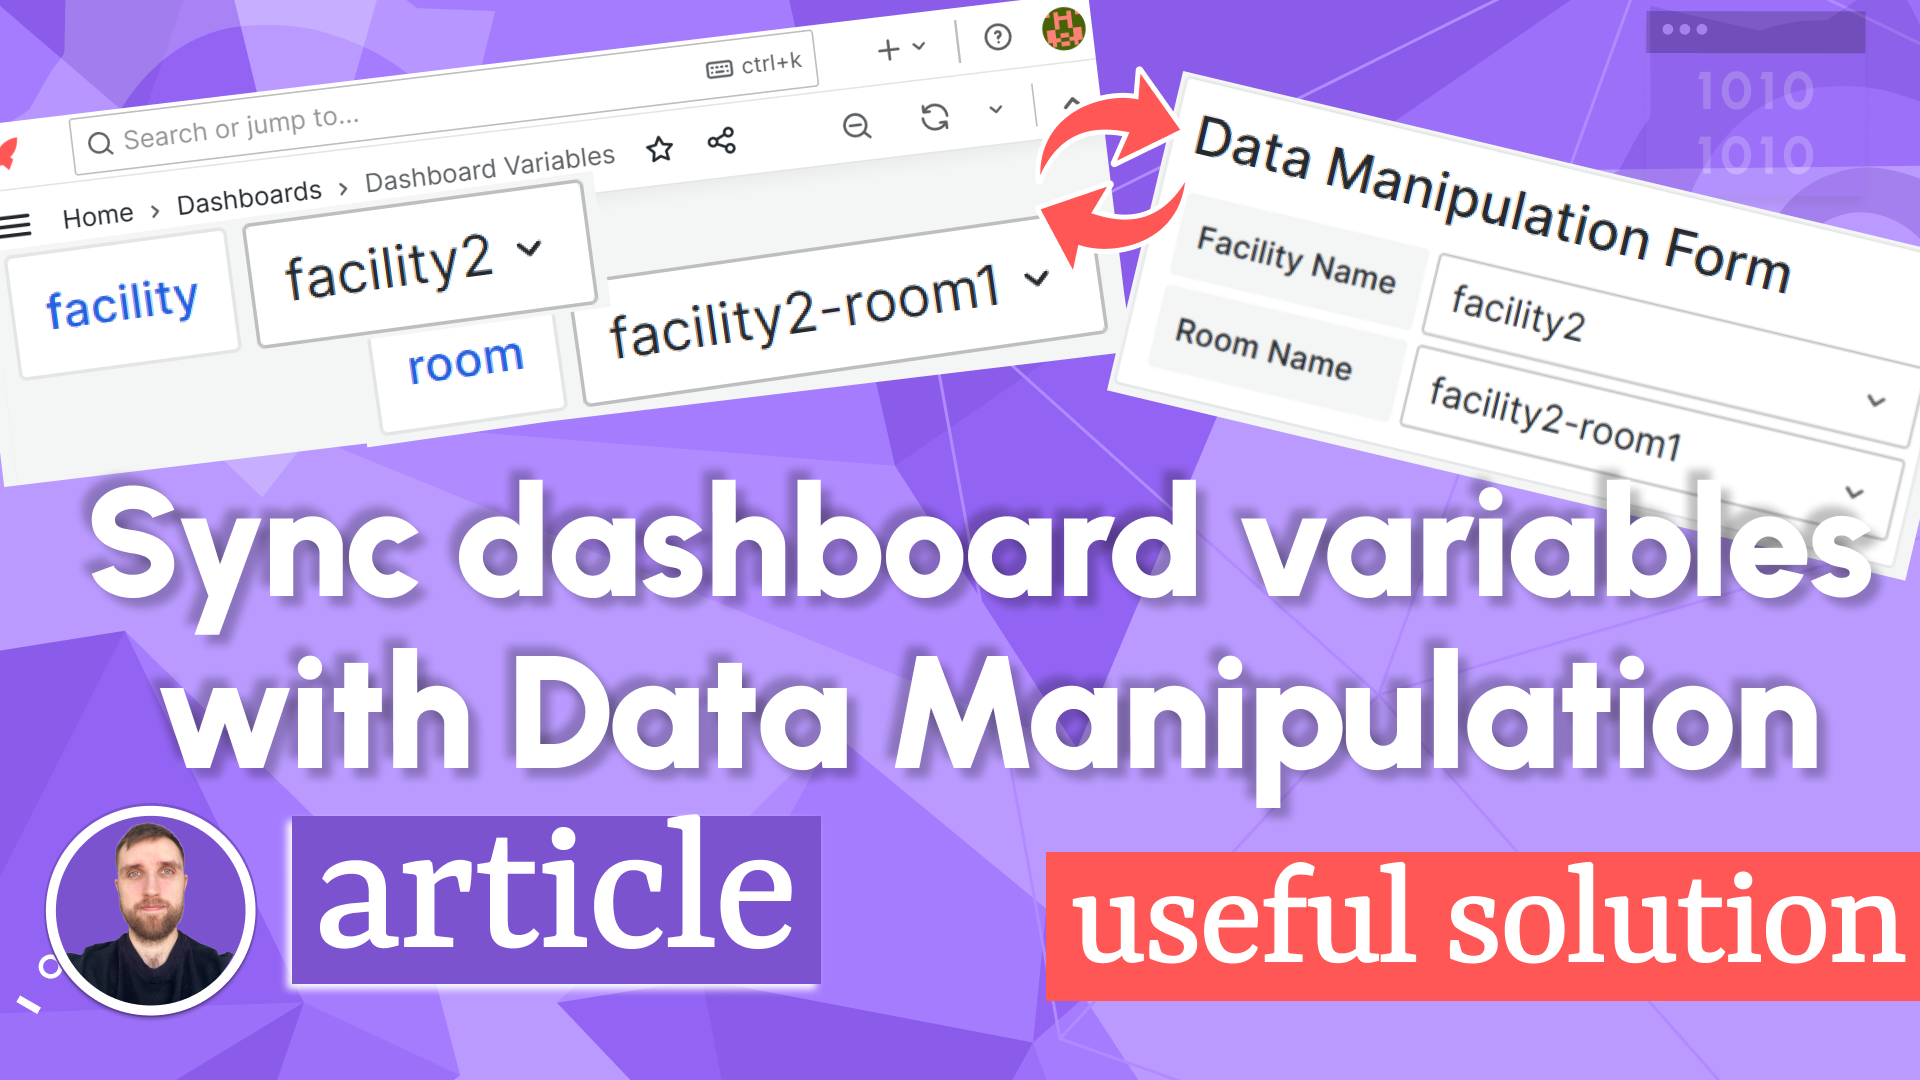
This article explains how to place the Form Elements on the Data Manipulation form on the fly (dynamically) following the selected variable value.
Schematically, the solution looks like as on the picture below.

Use case components
The solution contains the following main components:
| Component | Description |
|---|---|
| REST API Server | Accepts a parameter (device name). Returns the description for the Form Elements based on the received parameter. |
| JSON Data Source | Can be JSON API or Infinity data source. |
| Variable Panel | Allows to change the dashboard variable (switch between devices). |
| Data Manipulation Panel | On the Initial Request, pass the current dashboard variable into the JSON data source. Receives the description of the Form elements, and builds the Data Manipiulation form. |
REST API Server
Below is the code for the Node.js HTTP server that we used for this use case.
The server accepts GET /form request with a query parameter device and returns an appropriate form element for the device.
The example of the full URL looks like this GET /form?device=device1.
The Node.js HTTP server code can be copied from here:
const http = require("http");

/**
 * Server Port
 */
const port = 3001;

/**
 * Create Server
 */
const server = http.createServer(function (req: any, res: any) {
  /**
   * Set CORS headers
   */
  res.setHeader("Access-Control-Allow-Origin", "*");
  res.setHeader("Access-Control-Request-Method", "*");
  res.setHeader(
    "Access-Control-Allow-Methods",
    "OPTIONS, GET, POST, PUT, PATCH"
  );
  res.setHeader("Access-Control-Allow-Headers", "*");
  if (req.method === "OPTIONS") {
    res.writeHead(200);
    res.end();

    return;
  }

  /**
   * Ping for json data source
   */
  if (req.url === "/") {
    res.writeHead(200, { "Content-Type": "application/json" });
    res.write(
      JSON.stringify({
        message: "pong",
      })
    );
    res.end();
    return;
  }

  /**
   * Get form
   */
  const urlObject = new URL(`http://localhost${req.url}`);
  if (urlObject.pathname === "/form") {
    const device = urlObject.searchParams.get("device") || "";
    const formElements: unknown[] = [
      {
        uid: "device",
        id: "device",
        title: "Device",
        type: "select",
        value: device,
        options: [
          {
            id: "device1",
            label: "device1",
            type: "string",
            value: "device1",
          },
          {
            id: "device2",
            label: "device2",
            type: "string",
            value: "device2",
          },
        ],
        optionsSource: "Custom",
      },
    ];

    /**
     * Add device1 elements
     */
    if (device === "device1") {
      formElements.push({
        uid: "device1Field",
        id: "device1Field",
        title: "Device 1 Field",
        type: "number",
        value: 0,
        min: 0,
        max: 10,
      });
    }

    /**
     * Add device2 elements
     */
    if (device === "device2") {
      formElements.push({
        uid: "device2Field",
        id: "device2Field",
        title: "Device 2 Field",
        type: "number",
        value: 0,
        min: 0,
        max: 10,
      });
    }

    /**
     * Add common elements
     */
    formElements.push({
      uid: "comment",
      id: "comment",
      title: "Comment",
      type: "textarea",
      value: "",
    });

    res.writeHead(200, { "Content-Type": "application/json" });
    res.write(JSON.stringify(formElements));
    res.end();
    return;
  }
});

/**
 * Listen on port 3001
 */
server.listen(port);
console.log(`Server is running on port ${port}...`);
All possible form element options are described in Typescript Interface - Form Element Type.
JSON API Data Source
We used the JSON API Data source to communicate with the REST API Server. The configuration is depicted below:

Dashboard Variables
The Variable Panel uses the device dashboard variable for display. The configuration is depicted below:

Data Manipulation
The configuration of the Data Manipulation panel consists of two logical parts:
- Connected data source,
- Panel options (Initial Request, etc.)
Data Source Configuration
We connect to the JSON API data source and specify the device variable in the GET request.

Following that, we map a JSON response to the Data Manipulation panel data.

Initial request configuration
In this case, the Initial Action could be set to Code or Query. Both options arrive at the same results.
With that, the Custom code could be as follows. Here, we parse the JSON data and convert it into the commands to create actual Form Elements.
Note, that we adjusted helpers to ensure the code works correctly.

You can copy the Custom code from below:
/**
 * Convert JSON to form elements array
 */
const formElements = JSON.parse(
  context.panel.data.series[0].fields[0].values[0]
);

/**
 * Set elements with helpers
 */
context.panel.onChangeElements(
  formElements.map((element) => ({
    ...element,
    helpers: {
      showIf: () => true,
      disableIf: () => false,
      getOptions: () => element.options,
    },
  }))
);
At this point, the Form Elements should rebuilt dynamically depending on the selected dashboard variable.


Bonus functionality
Update the dashboard variable following the form element changes
As you can see in the two images above, we added an interesting form element. It is similar to the dashboard variable drop-down. With that, a user can switch the selected device right on the Data Manipulation Form. However, to ensure that the dashboard variable is updated after the drop-down on the form has changed, we need to use the following code.

The code for the Form Events can be copied from here:
/**
 * Update device variable
 */
if (context.element.id === "device") {
  context.grafana.locationService.partial({
    "var-device": context.element.value,
  });
}
Keeping comment value on the device change
Another requirement that might arise is to keep the entered comment while the device form element changes its value.
To make it possible, adjust the Custom Code in the Initial request section to keep a comment field value on the device variable change.
if (element.uid === "comment" && elementInForm) {
  value = elementInForm.value;
}
The full Custom code with the new lines from above looks like this:
/**
 * Convert JSON to form elements array
 */
const formElements = JSON.parse(
  context.panel.data.series[0].fields[0].values[0]
);

/**
 * Set elements with helpers
 */
context.panel.onChangeElements(
  formElements.map((element) => {
    const elementInForm = context.panel.elements.find(
      (item) => item.uid === element.uid
    );
    let value = element.value;

    if (element.uid === "comment" && elementInForm) {
      value = elementInForm.value;
    }

    return {
      ...element,
      value,
      helpers: {
        showIf: () => true,
        disableIf: () => false,
        getOptions: () => element.options,
      },
    };
  })
);
Final result
After all the described steps, the Data Manipulation form should be built dynamically depending on the selected value either on the Variable panel or the Data Manipulation panel itself.
Please feel free to ask any questions related to the discussed in this article materials. You can do it in the Comments section under any video on our YouTube channel.